Refuel and Recover: What To Eat After Climbing
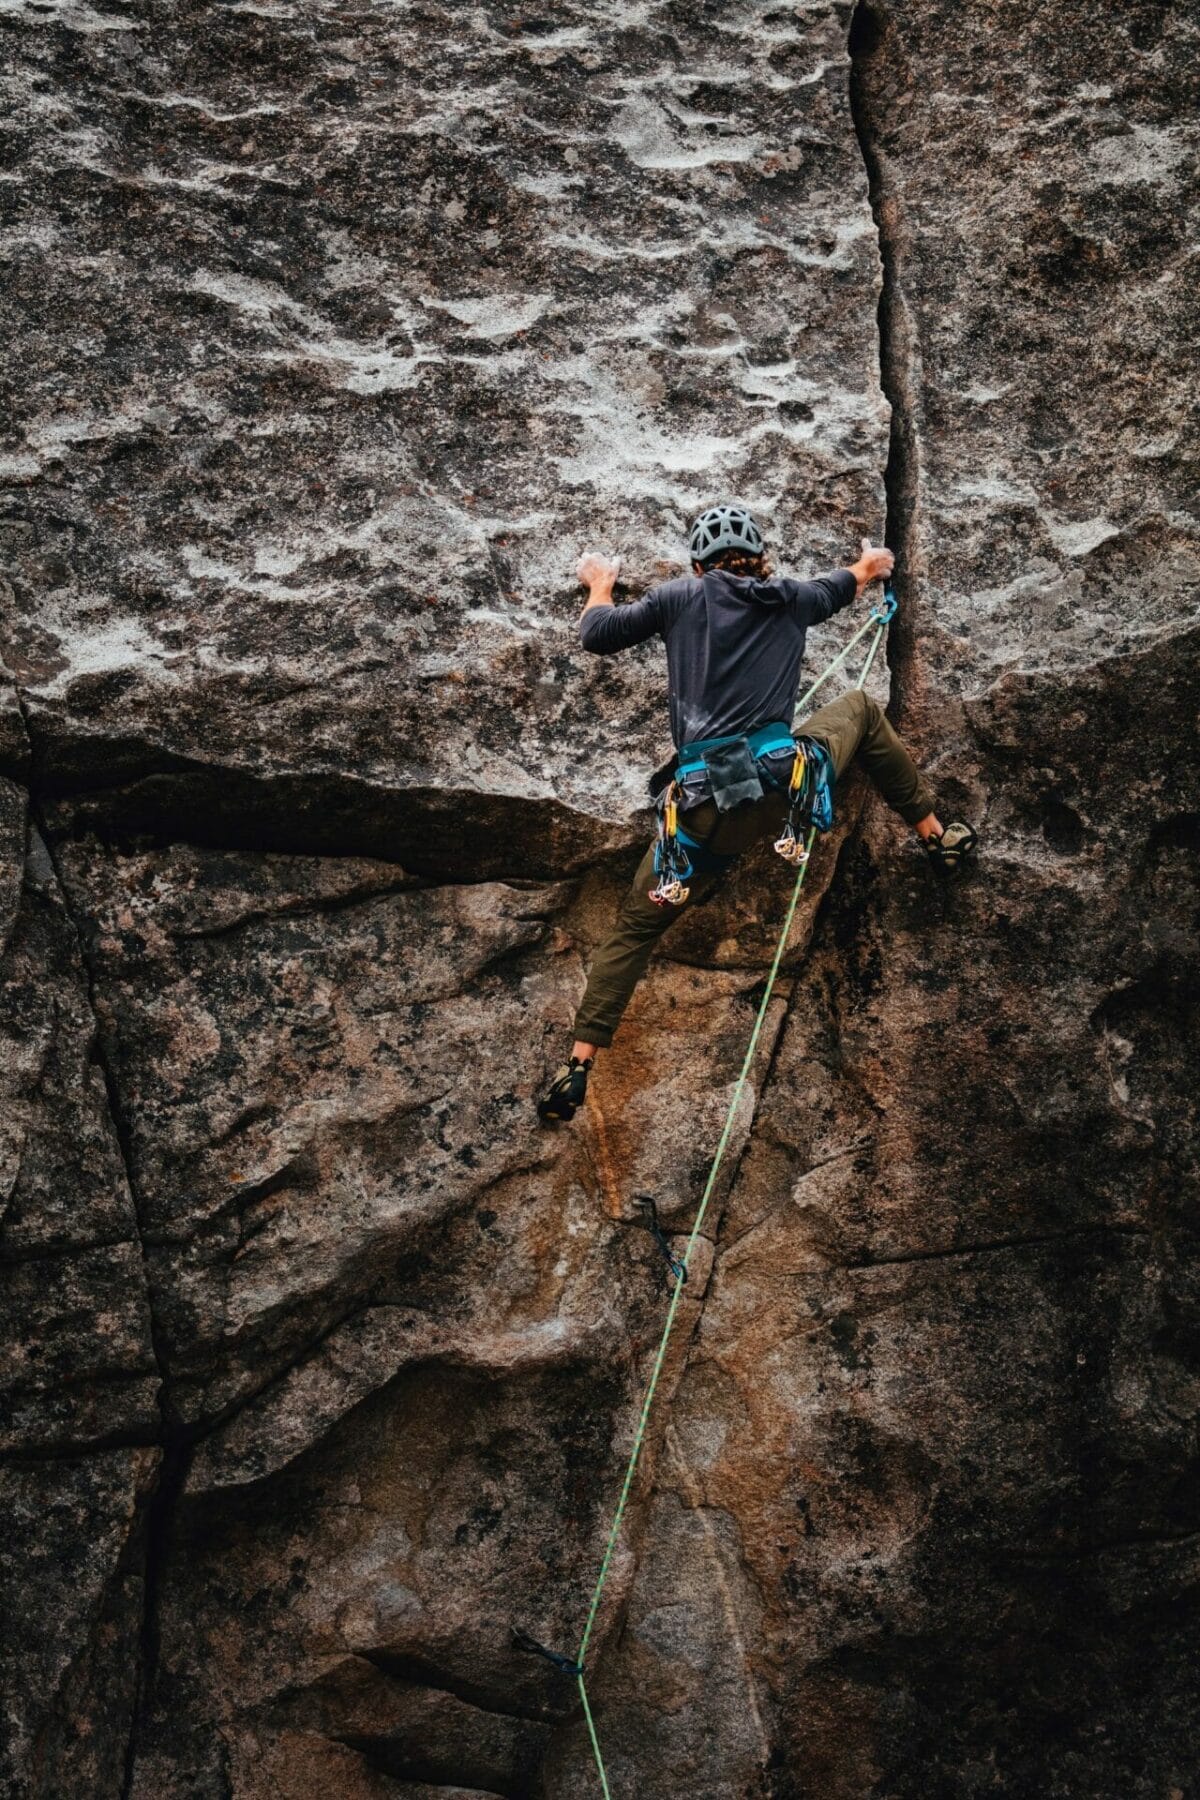
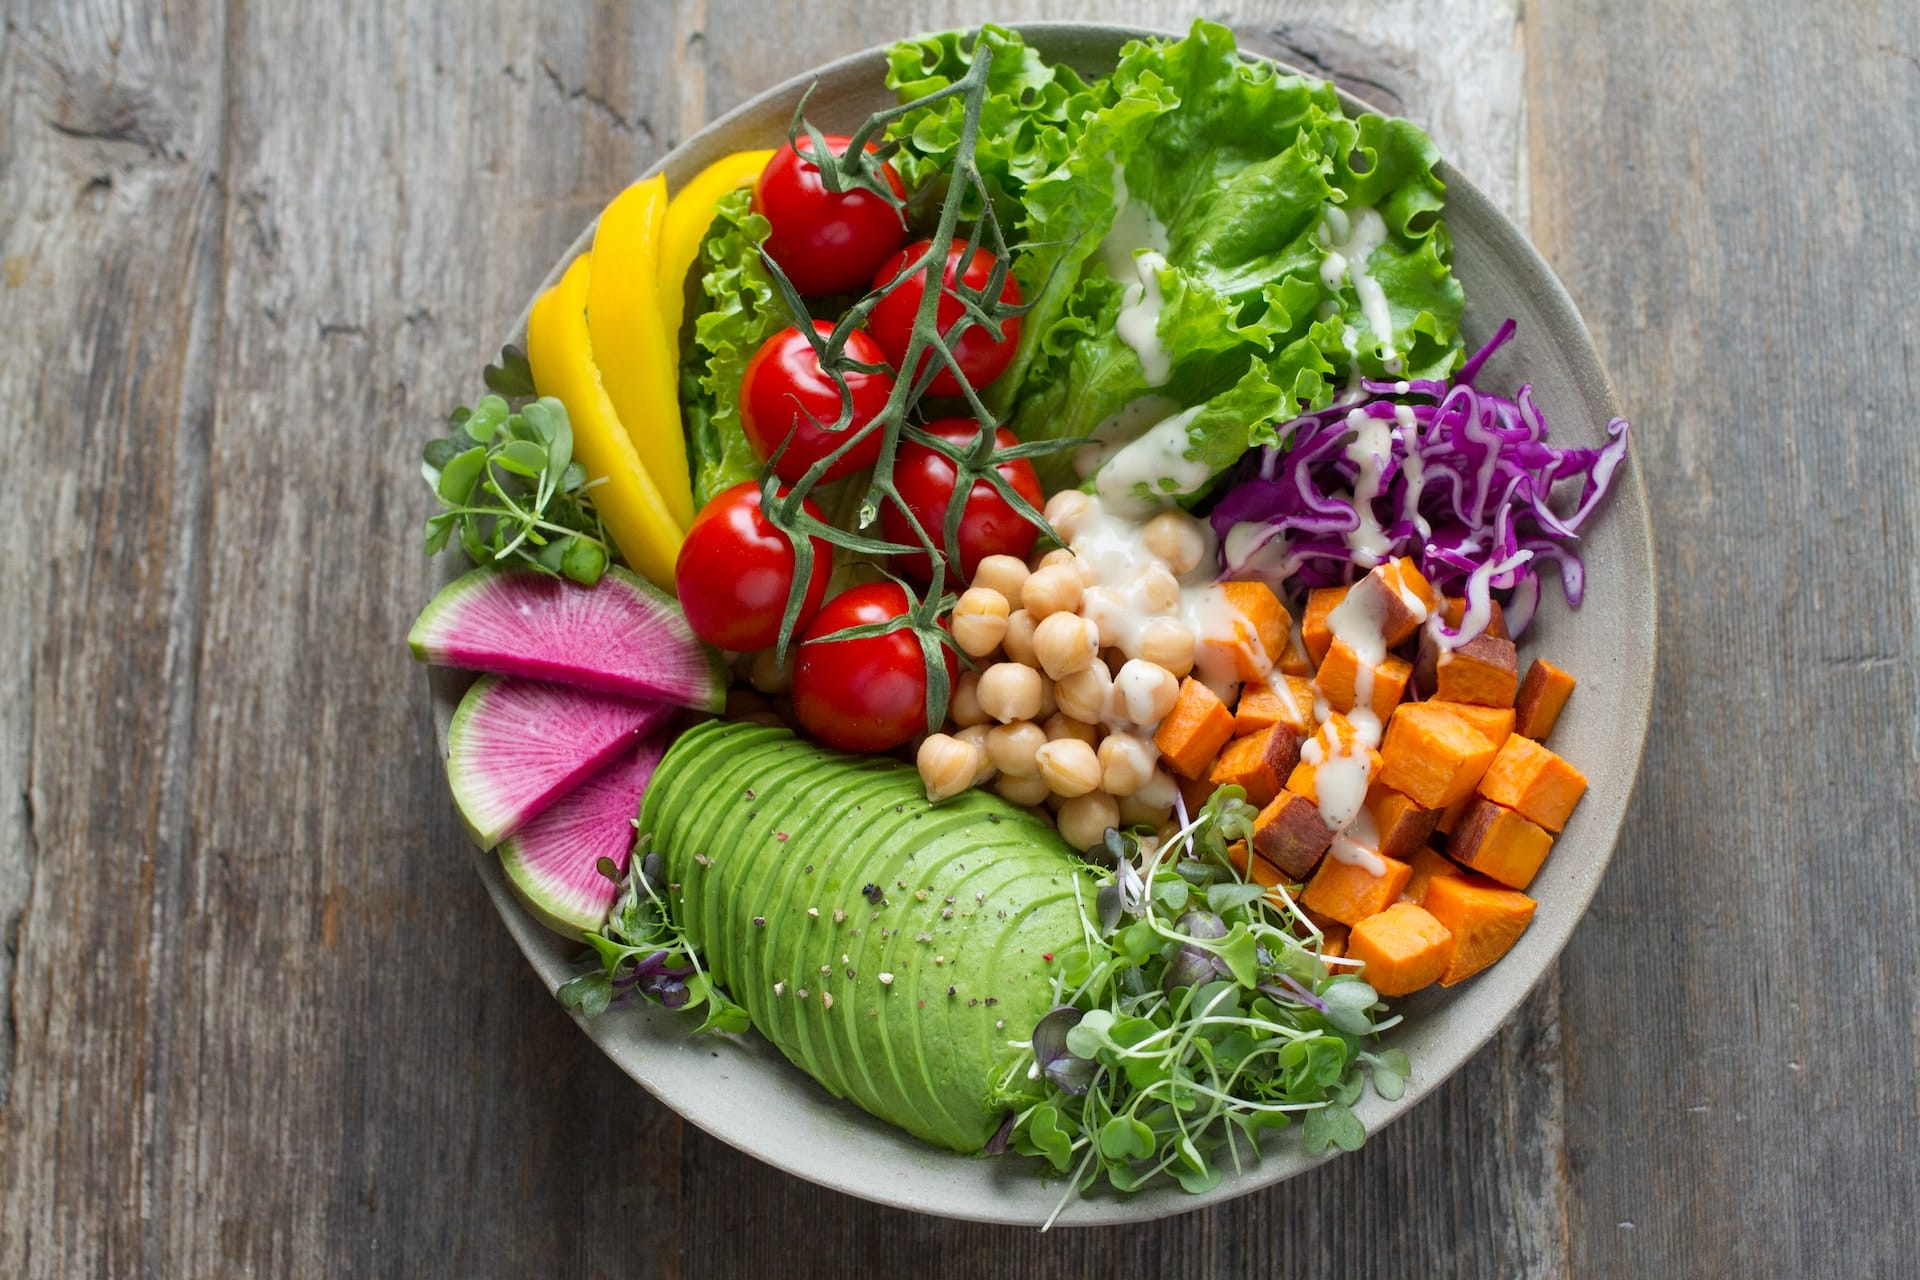
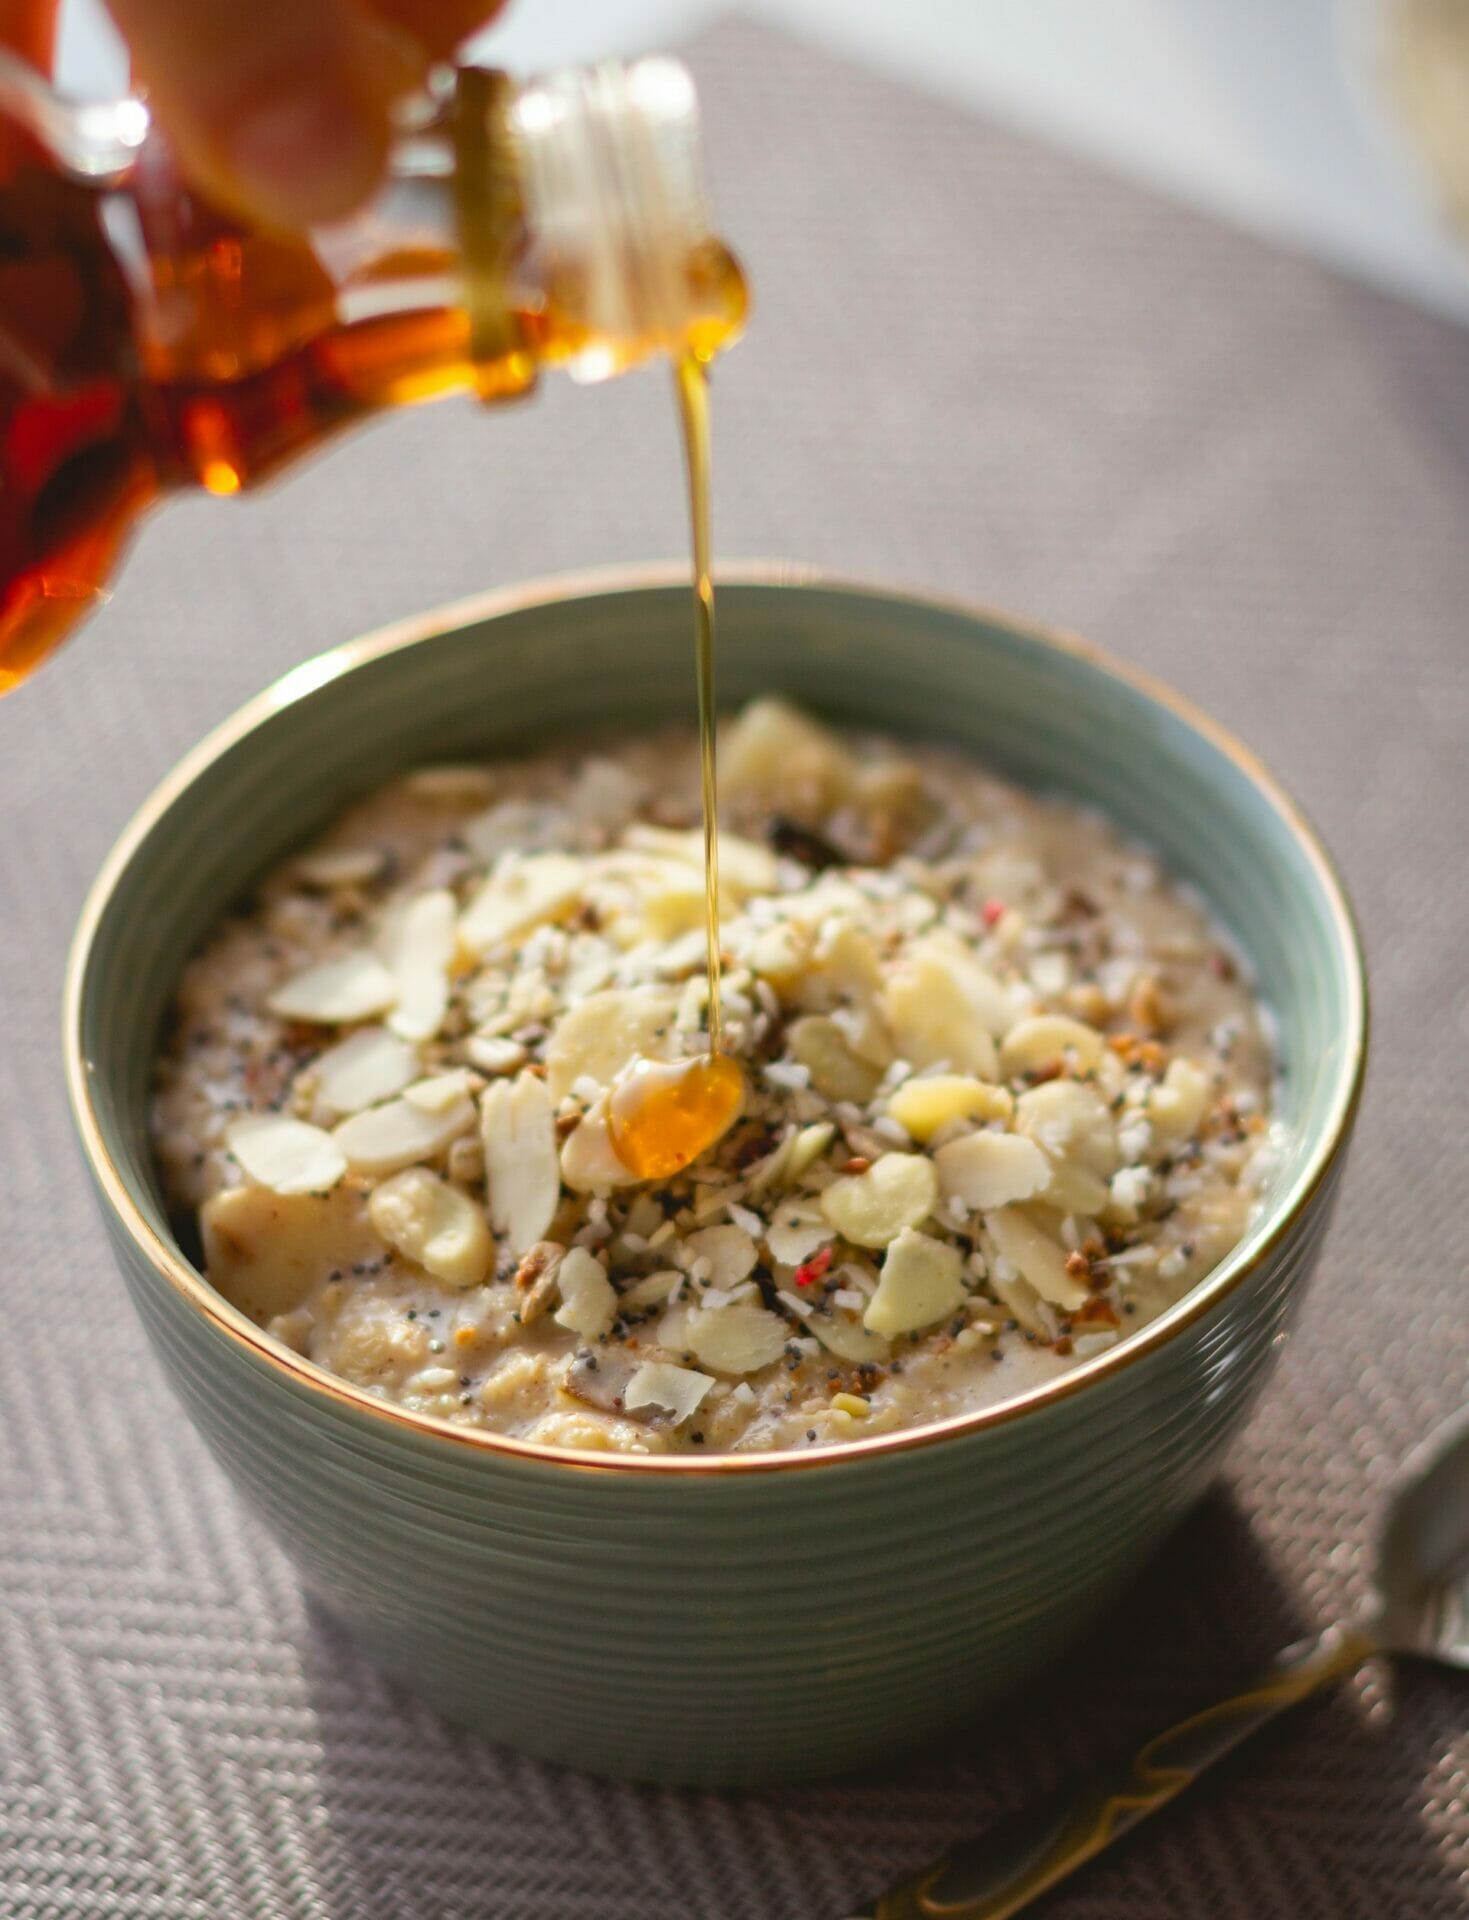
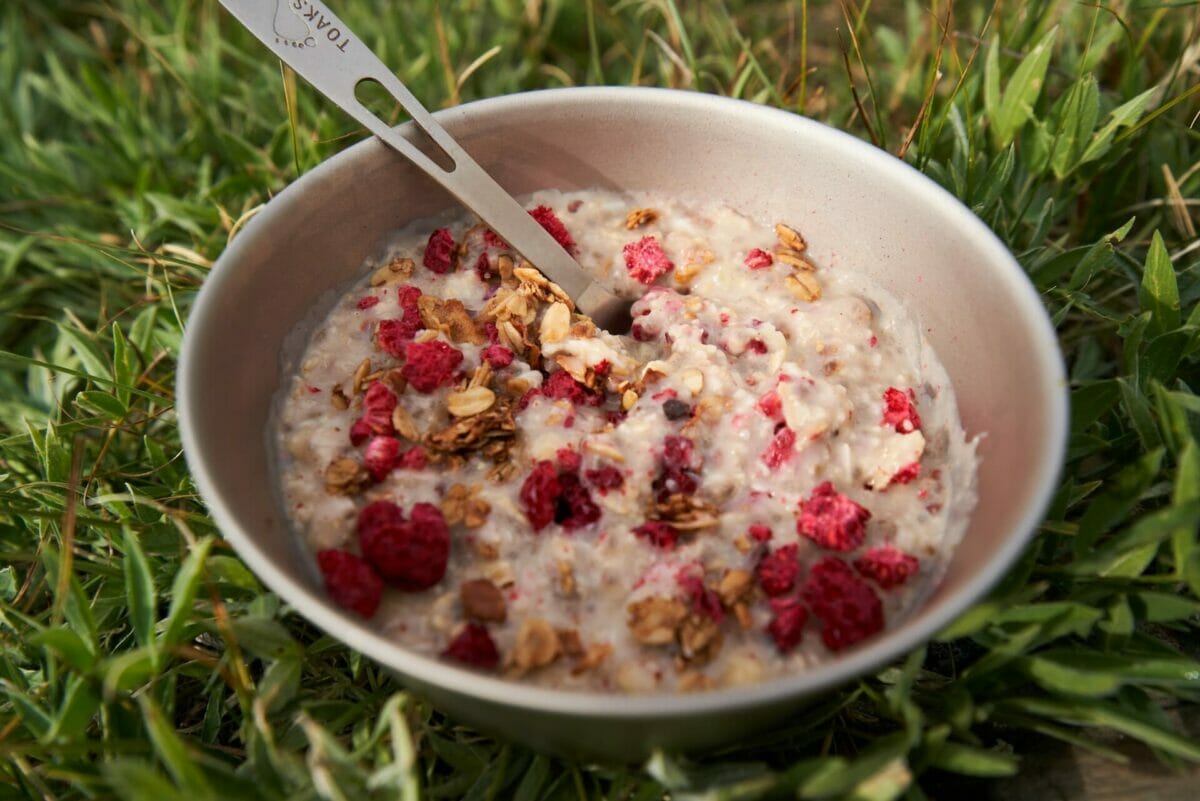
You just finished a climbing session at the gym or sent your project at the crag and feel pumped and hungry. So, what should you eat after climbing? This is [...]

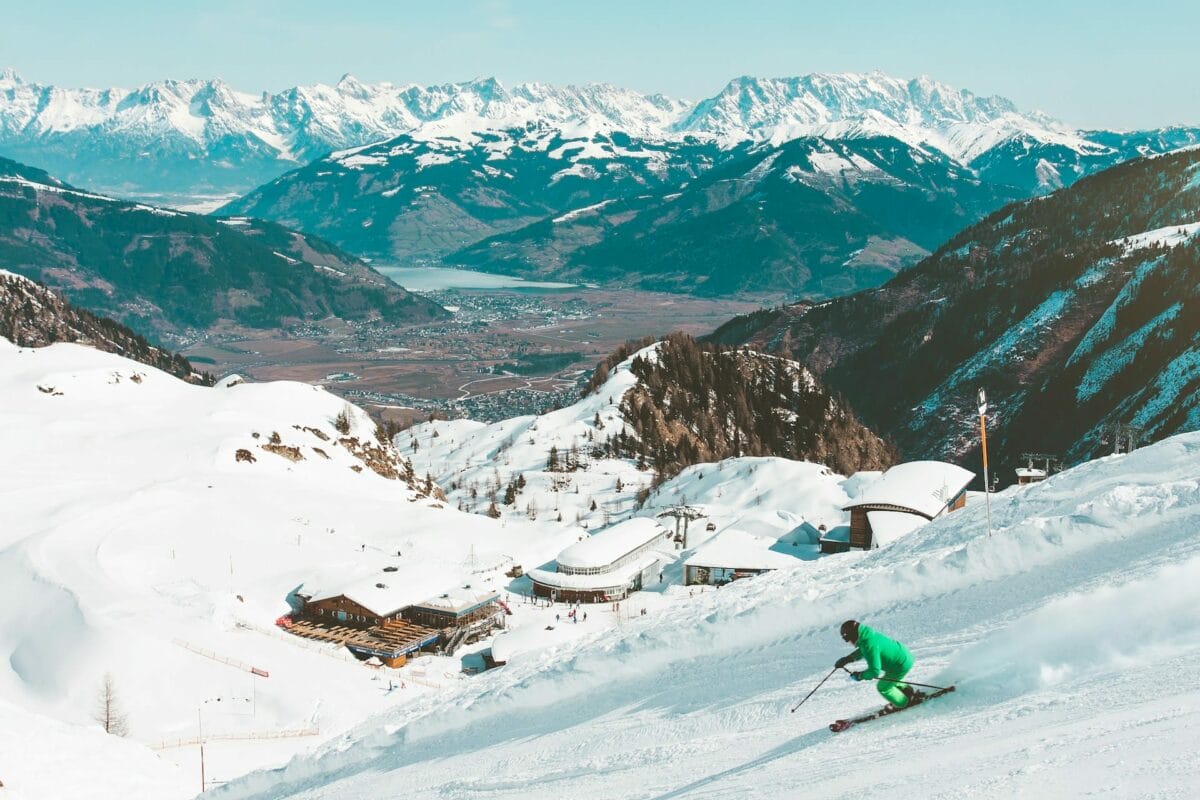
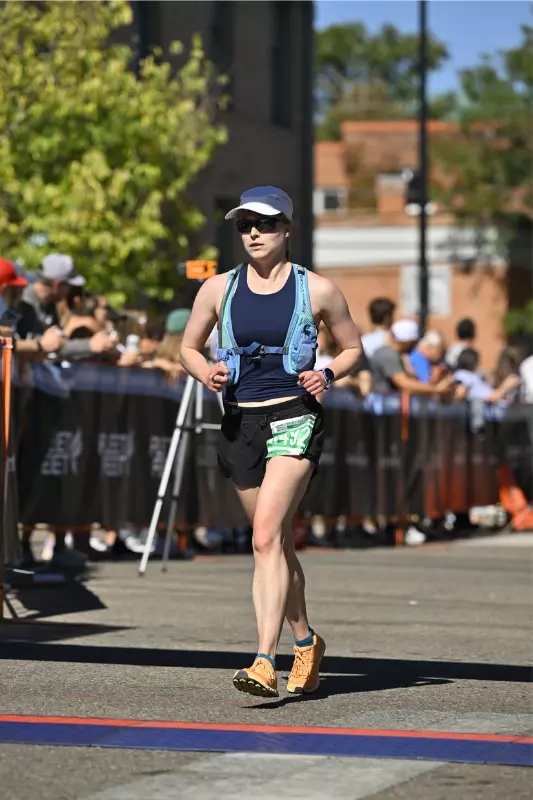
As a sports nutritionist, I love helping adventurous mountain athletes optimize their athletic performance and whole-body health.
When you work with me as a one-on-one client, I will help you optimize your health and performance with personalized functional nutrition care, testing, meal planning, and strategic supplement strategies.
I hope enjoy these blog posts and find them helpful!


Sign up for updates!